Vue.jsとFirebaseでログインとログアウトを実装する①
1.はじめに
こんにちは、アイスマイル合同会社の李です。
本連載では、Vue.jsとFirebaseを利用して、ログインとログアウトを実装したいと思います。
今回は、環境構築を行なっていきたいと思います。
※本連載では、Firebase Local Emulator Suiteを利用し、ローカル環境に限定された環境で行うため、本番環境に上げる際は別途考慮が必要であること、公式のドキュメント等ご確認いただけますようよろしくお願いいたします。
2.機能一覧
2回にかけて連載予定ですが、下記の機能を作成予定です。
・ログイン
・ログアウト
3.Firebase
Firebaseについては、下記のサービスを利用予定です。※ローカル環境では、Firebase Local Emulator Suiteを利用します。
・Firebase Authentication
・Cloud Firestore※特に利用しませんが、設定だけ行います。
4.環境構築
1)Vue.js
まずは、Vue.jsインストールを開始しましょう。
Vue (発音は /vjuː/、view と同様) は、ユーザーインターフェースの構築のための JavaScript フレームワークです。標準的な HTML、CSS、JavaScript を土台とする、コンポーネントベースの宣言的なプログラミングモデルを提供します。
https://ja.vuejs.org/guide/quick-start.html#creating-a-vue-application
npm init vue@latestプロジェクト名など問われるかと思いますので任意の項目を選んでください。
ここでは下記のように選びました。
「Project name」: vue-firebase
「Add TypeScript?」: Yes
「Add JSX Support?」: No
「Add Vue Router for Single Page Application development? …」: Yes
「Add Pinia for state management? …」: Yes
「Add Vitest for Unit Testing? …」: Yes
「Add an End-to-End Testing Solution?」: Cypress
「Add ESLint for code quality? …」: Yes
「Add Prettier for code formatting? …」: Yes
cd vue-firebase
npm install
npm run format
npm run dev
ローカル環境が立ち上がるとアクセスしてみましょう。
http://localhost:5173/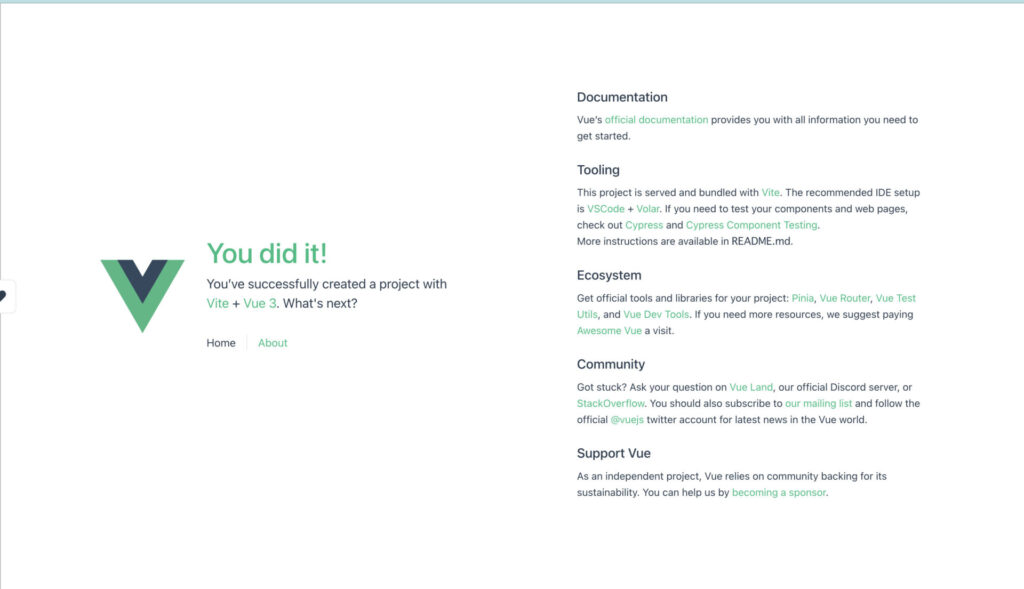
上記のように開発環境が立ち上がれば、Vue.jsの環境は構築完了です。
2) Firebaseプロジェクト
新規のプロジェクトを作成します。
https://firebase.google.com/?hl=ja
「使ってみる」からプロジェクトを追加しましょう。
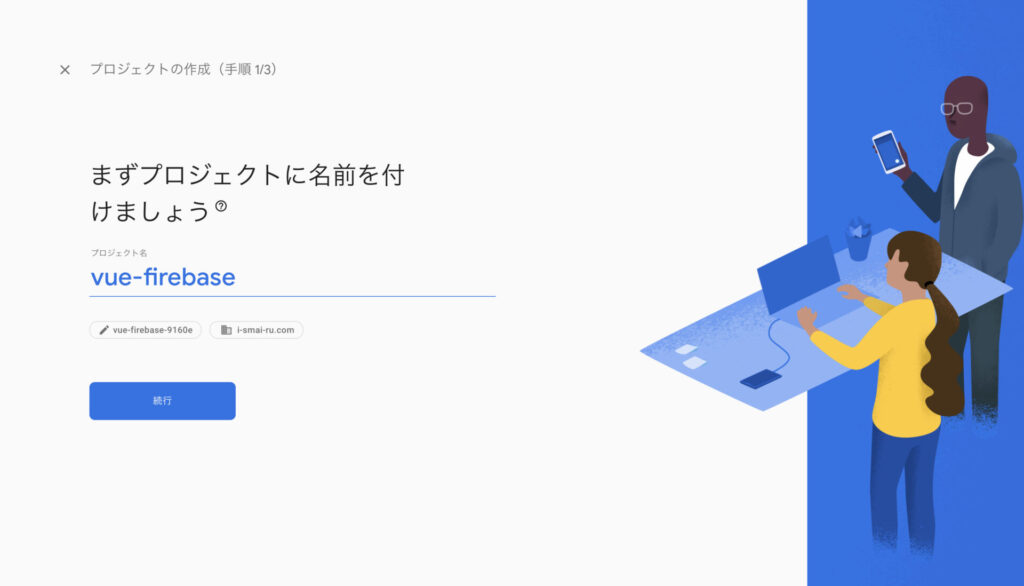
ここでは、「vue-firebase」というプロジェクト名にします。
アナリティクス設定は任意ですが、ここでは新規にアカウントを作成することにします。
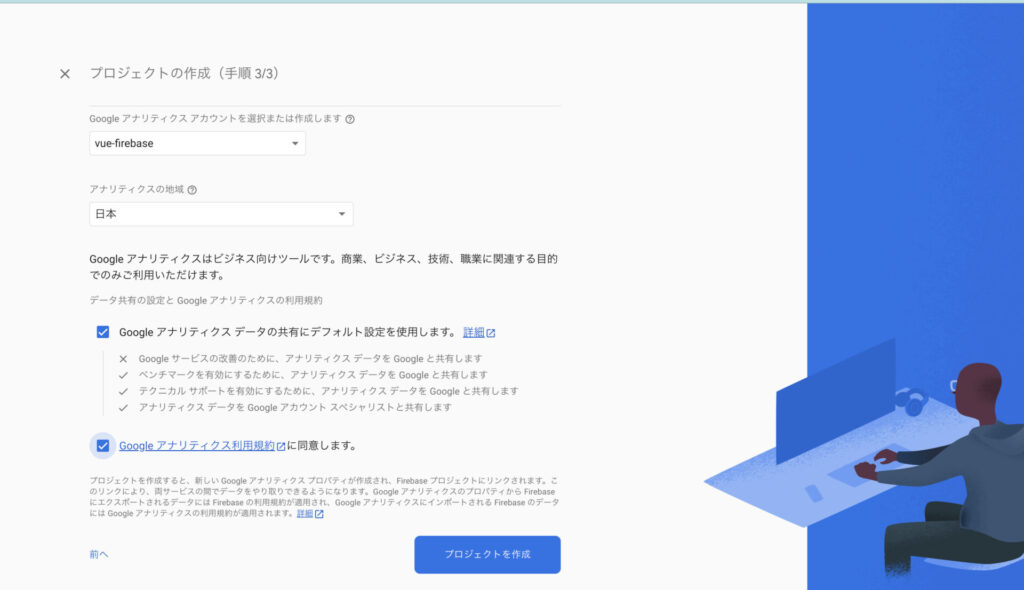
「プロジェクトを作成」を押しましょう。
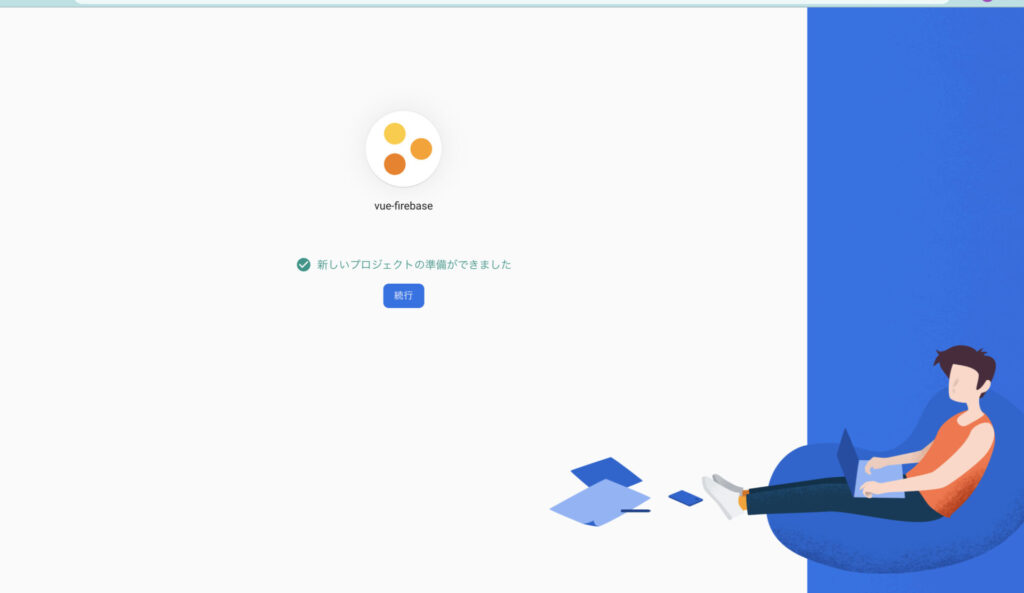
しばらく経つと画像のような表示となりますので、続行を押してください。
3) Firebase Hosting
次に、メニューの「構築」からHostingを選択し、「始める」から各質問に答えてください。
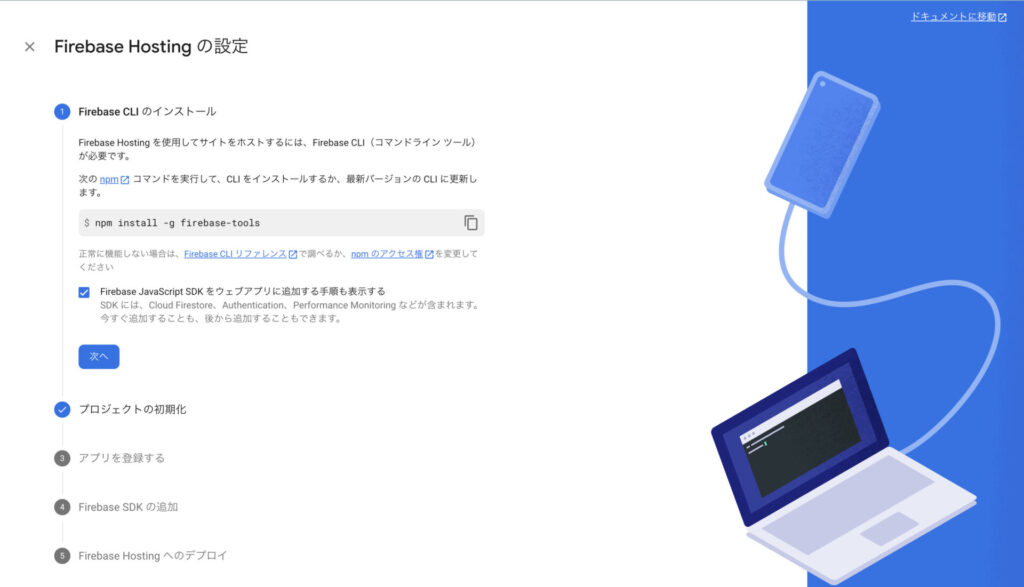
「Firebase JavaScript SDK をウェブアプリに追加する手順も表示する」にチェックを入れて、次へ進めてください。
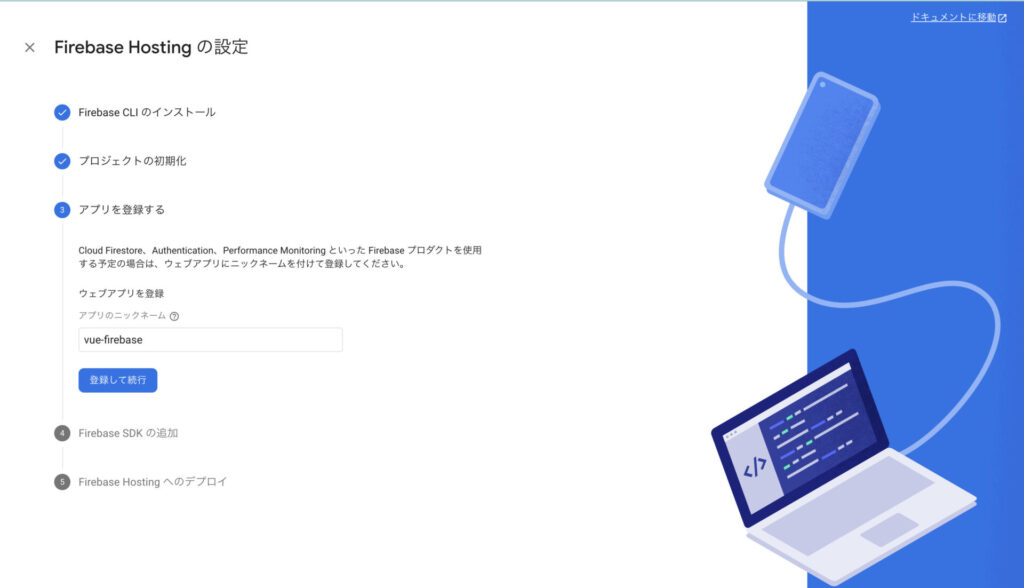
アプリを登録する箇所で、アプリ名を「vue-firebase」とします。
登録が完了し、コンソールへ進めば完了です。
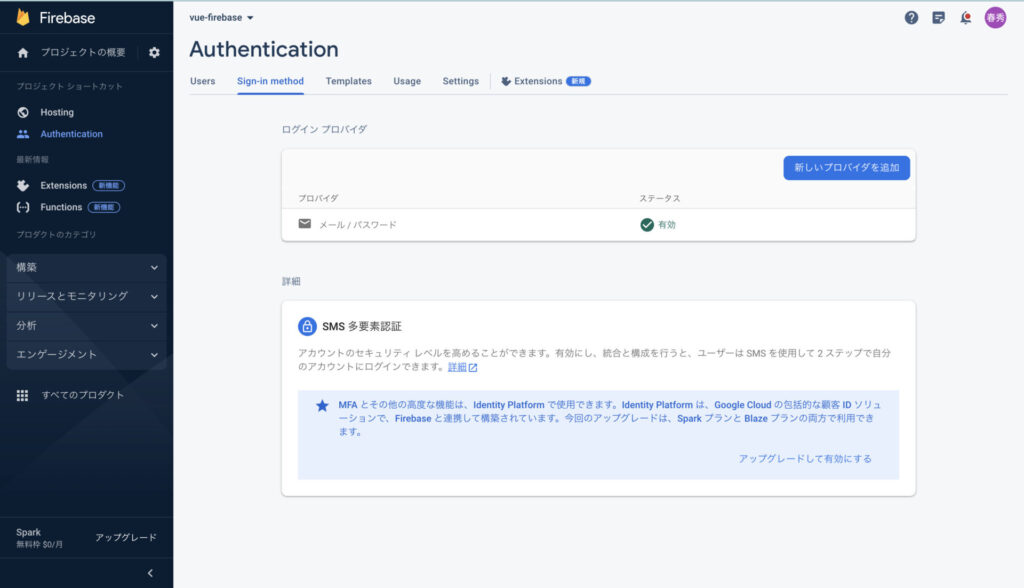
4) Firebase Authentication
次に、構築から「Authentication」を選択し、進めてください。
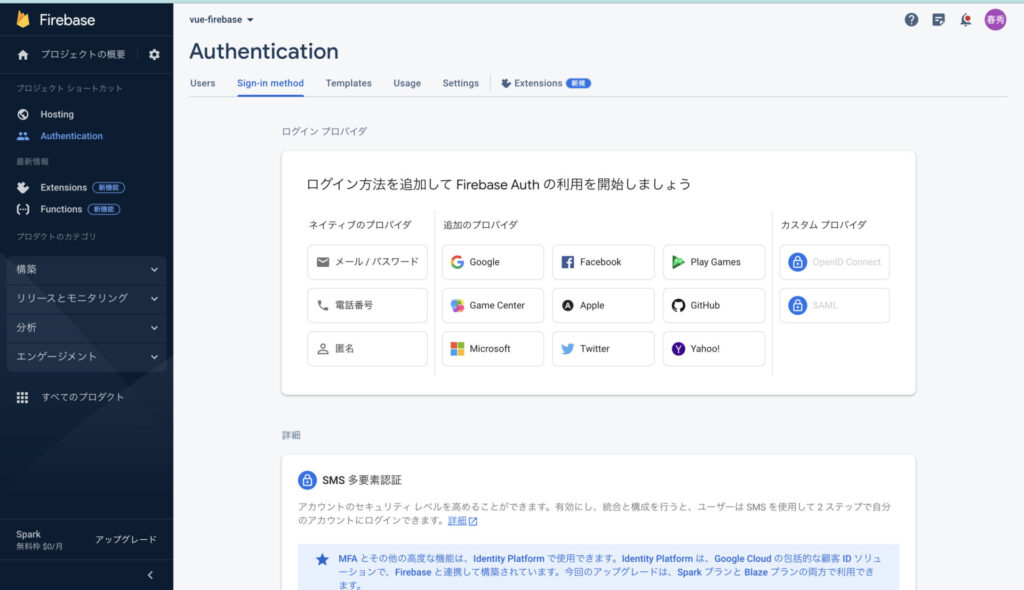
「メール/パスワード」を選択してください。
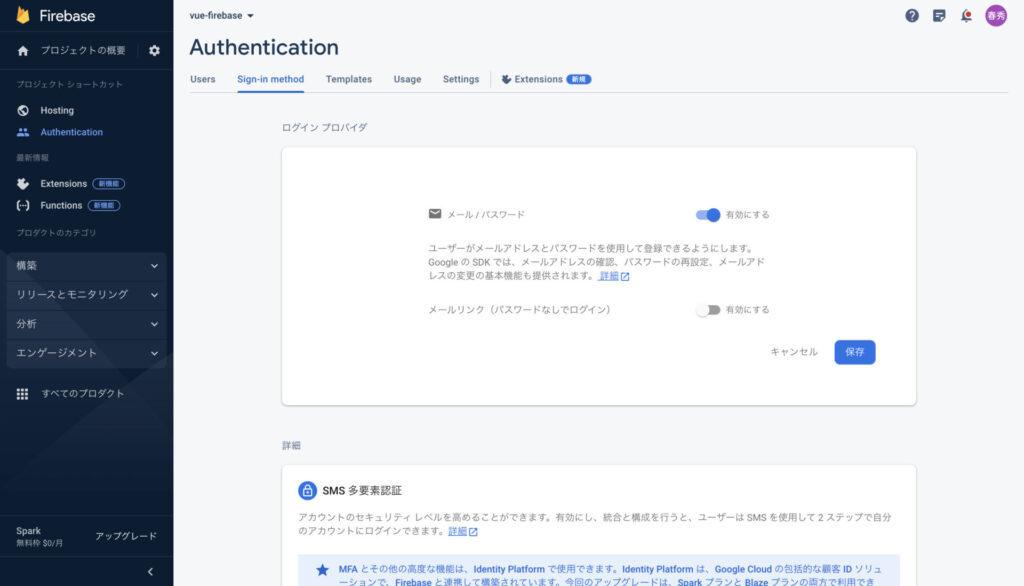
「メール/パスワード」を有効にし、保存してください。
5)Cloud Firestore
構築から「Firestore Database」を選択し、データベースの作成を進めてください。
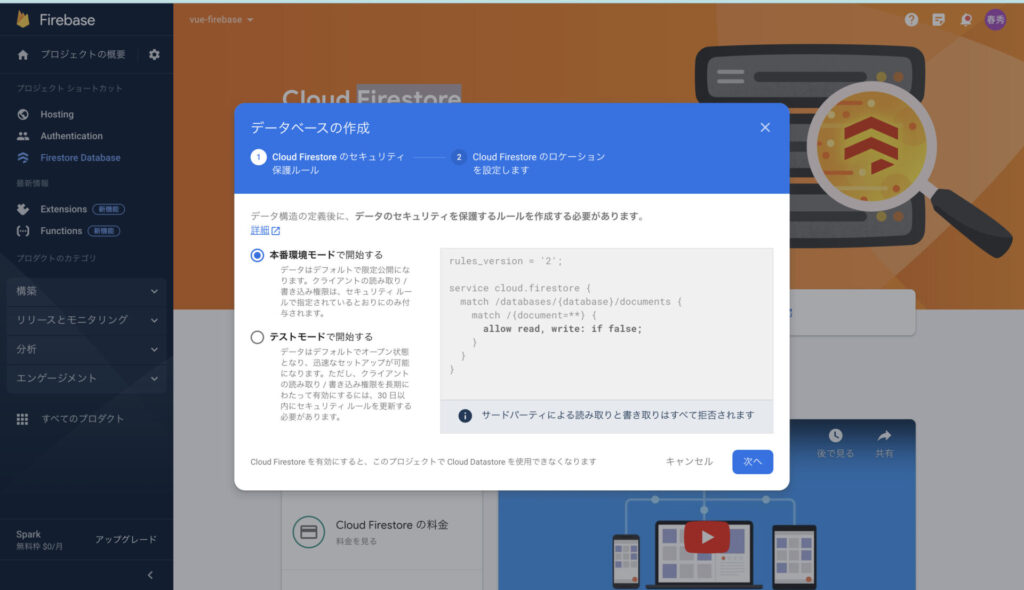
本番環境モードで特に問題ないです。次へ進めてください。
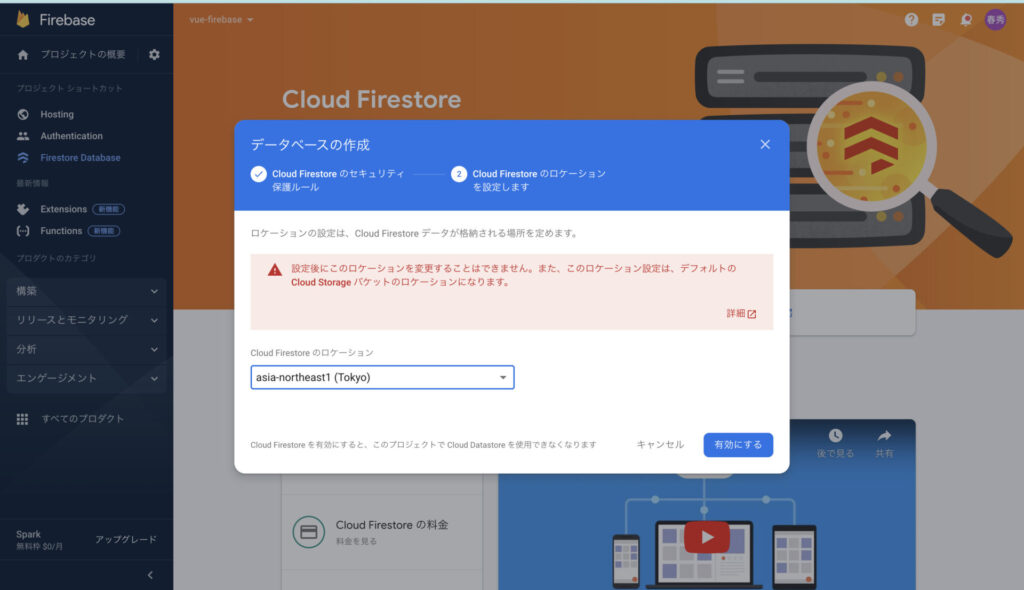
ロケーション設定はここでしかできないので適切なロケーションを設定してください。
ここでは、「asia-northeast1(Tokyo)」を選択し、有効にします。
6) Firebase Local Emulator Suite
次に、Firebase Local Emulator Suiteをインストールしたいと思います。
Firebase Local Emulator Suite は、アプリのビルドとテストをローカルで行うことのできる、デベロッパー向けの高度なツールセットです。Cloud Firestore、Authentication、Firebase Hosting、Cloud Functionsを含めていろんなFirebaseのサービスをエミュレートしてくれます。
https://firebase.google.com/docs/emulator-suite?hl=ja
(1)Firebase CLI をインストールする
インストールがまだの場合、各環境に合わせて、CLIをインストールしてください。
https://firebase.google.com/docs/cli?hl=ja#install_the_firebase_cli
プロジェクト一覧が表示できるようになったら完了です。
firebase projects:list(2)Firebase Local Emulator Suite
先ほど作成したプロジェクト直下にいることを確認してください。
もし、そうでない場合は、移動してください。
cd vue-firebase次に、先ほどインストールしたFirebaseのCLIを使ってエミュレータをセットアップします。
firebase initエミュレータは下記を選択します。
◉ Authentication Emulator
◉ Firestore Emulator
◉ Hosting Emulator
後の質問は、デフォルトで問題ないのでEnterを押しましょう。
? Which port do you want to use for the auth emulator? 9099
? Which port do you want to use for the firestore emulator? 8080
? Which port do you want to use for the hosting emulator? 5000
? Would you like to enable the Emulator UI? Yes
? Which port do you want to use for the Emulator UI (leave empty to use any available port)?
? Would you like to download the emulators now? Yes

i  Writing configuration info to firebase.json...
i  Writing project information to .firebaserc...

✔  Firebase initialization complete!
ここまで出来たら、 エミュレーターを立ち上げてみましょう。
firebase emulators:start立ち上がったら下記にアクセスしましょう。
http://127.0.0.1:4000/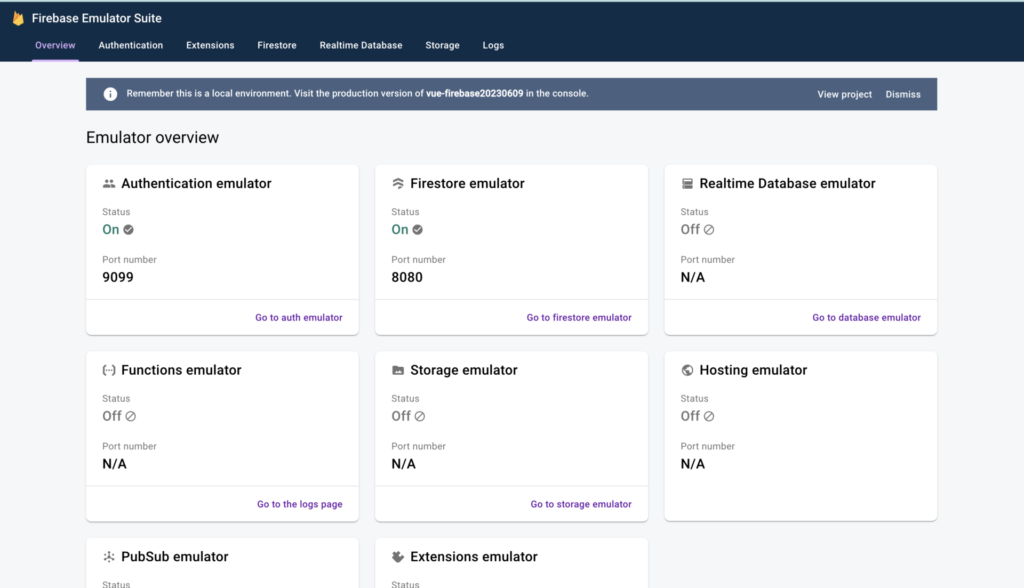
構築完了です。
5.おわりに
次回、ログインを実装したいと思います。